環境
Ubuntu 24.04
Intel Arc A770
以前Windows + CUDAの組み合わせで実行しました。 touch-sp.hatenablog.com
今回は Ubuntu + Intel GPU です。
はじめに
Sarashina2.2-Vision-3Bは日本の知識が豊富なVision Language Modelです。
学習時に日本のデータを多く使ったようです。
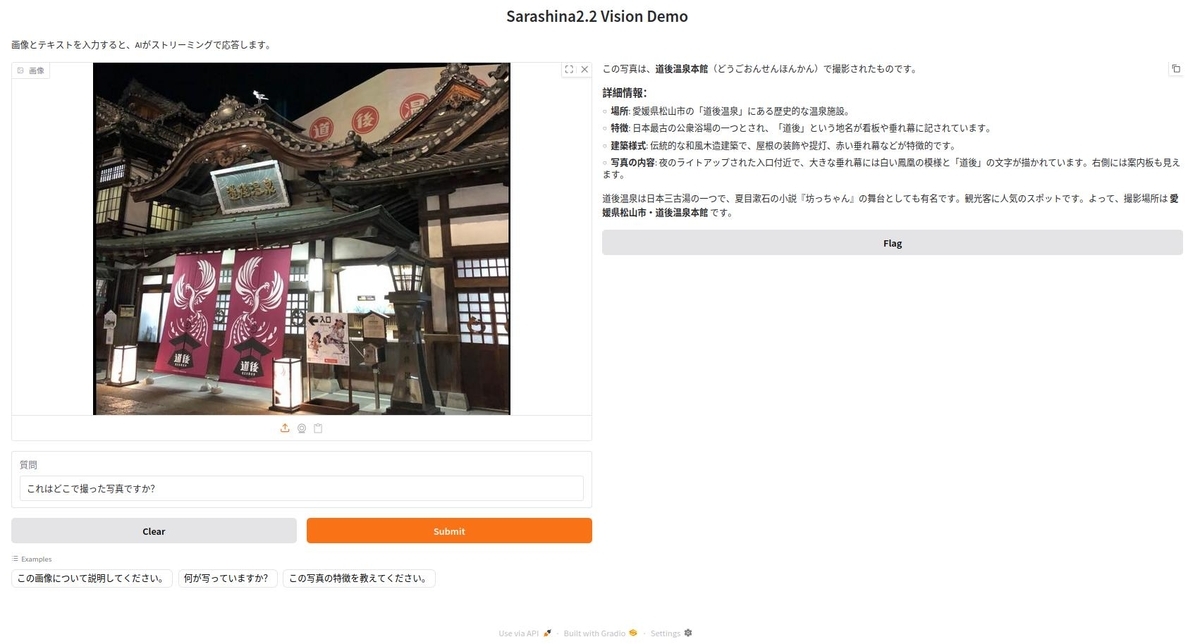
画面
Pythonコード
Intel Arc A770はモデルをロードするのにデフォルトでは上限が4GBに設定されているようです。 そのため以下の2行が必要になります。
import os
os.environ["UR_L0_ENABLE_RELAXED_ALLOCATION_LIMITS"] = "1"
import os

os.environ["UR_L0_ENABLE_RELAXED_ALLOCATION_LIMITS"] = "1"

import threading

import gradio as gr
import torch
from transformers import (
    AutoModelForCausalLM,
    AutoProcessor,
    TextIteratorStreamer,
    set_seed,
)

# Define model path
model_path = "sbintuitions/sarashina2.2-vision-3b"

# Load model and processor
print("Loading model...")
processor = AutoProcessor.from_pretrained(model_path, trust_remote_code=True)
model = AutoModelForCausalLM.from_pretrained(
    model_path,
    device_map="xpu",
    torch_dtype=torch.bfloat16,
    trust_remote_code=True,
)
set_seed(42)
print("Model loaded!")


def generate_response(image, text):
    """画像とテキストを受け取り、ストリーミングで応答を生成"""
    if image is None:
        yield "画像をアップロードしてください。"
        return

    # 画像をRGBに変換
    if hasattr(image, "mode") and image.mode != "RGB":
        image = image.convert("RGB")

    # Construct message for chat template
    message = [
        {
            "role": "user",
            "content": [
                {"type": "image", "image": image},
                {"type": "text", "text": text},
            ],
        }
    ]

    # Apply chat template
    text_prompt = processor.apply_chat_template(message, add_generation_prompt=True)

    # Process inputs
    inputs = processor(
        text=[text_prompt],
        images=[image],
        padding=True,
        return_tensors="pt",
    )
    inputs = inputs.to(model.device)

    # Setup streamer
    streamer = TextIteratorStreamer(
        processor.tokenizer, skip_prompt=True, skip_special_tokens=True, timeout=30.0
    )

    # Generation kwargs
    generation_kwargs = dict(
        **inputs,
        max_new_tokens=512,
        temperature=0.7,
        top_p=0.95,
        repetition_penalty=1.2,
        streamer=streamer,
    )

    # Start generation in a separate thread
    thread = threading.Thread(target=model.generate, kwargs=generation_kwargs)
    thread.start()

    # Stream the output
    generated_text = ""
    for new_text in streamer:
        generated_text += new_text
        yield generated_text

    thread.join()


# Create Gradio interface
demo = gr.Interface(
    fn=generate_response,
    inputs=[
        gr.Image(type="pil", label="画像"),
        gr.Textbox(
            label="質問",
            value="これはどこで撮った写真ですか?",
            placeholder="画像について質問を入力してください",
        ),
    ],
    outputs=gr.Markdown(
        label="応答",
        show_copy_button=True,  # コピーボタンを表示
    ),
    title="Sarashina2.2 Vision Demo",
    description="画像とテキストを入力すると、AIがストリーミングで応答します。",
    examples=[
        [None, "この画像について説明してください。"],
        [None, "何が写っていますか?"],
        [None, "この写真の特徴を教えてください。"],
    ],
)

if __name__ == "__main__":
    print("Launching Gradio interface...")
    demo.launch()
環境構築
pyproject.tomlを載せておきます。
uvを使うとuv syncだけで環境構築できると思います。
[project]
name = "sarashina"
version = "0.1.0"
description = "Add your description here"
readme = "README.md"
requires-python = ">=3.12"
dependencies = [
    "accelerate==1.12.0",
    "gradio==5.50.0",
    "pillow==11.3.0",
    "protobuf==6.33.1",
    "pytorch-triton-xpu==3.5.0",
    "sentencepiece==0.2.1",
    "torch==2.9.1+xpu",
    "torchvision==0.24.1+xpu",
    "transformers==4.57.3",
]

[[tool.uv.index]]
name = "torch-xpu"
url = "https://download.pytorch.org/whl/xpu"
explicit = true

[tool.uv.sources]
torch = [{ index = "torch-xpu" }]
torchvision = [{ index = "torch-xpu" }]
pytorch-triton-xpu = [{ index = "torch-xpu" }]
2025年11月28日追記
下記の環境でも動作確認できました。
Ubuntu 25.10
Python 3.13.7
Intel Arc A770